
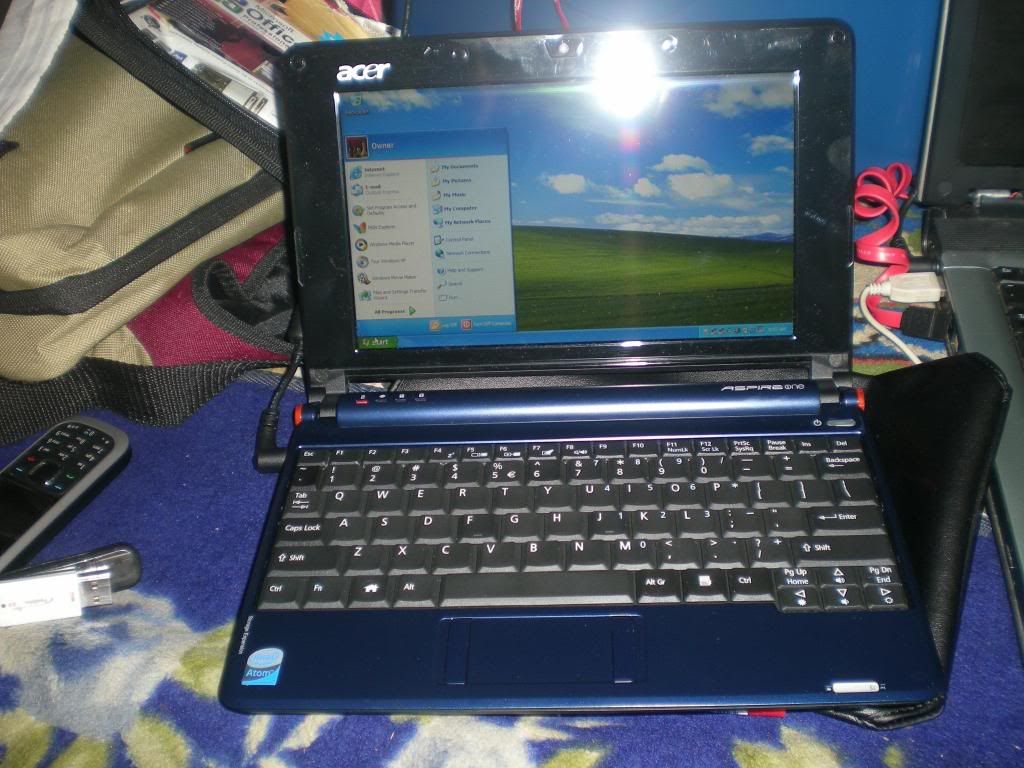
I have a new brand acer aspire one 110 on linpus linux as its os. I want to change it to windows xp....(coz with new linpus linux i cannot go more further in action... :-))
Im know installing Windows XP or any other operating system is easy if you have a USB optical disc drive. But if all you’ve got is a USB flash drive and another computer with a DVD burner, you can still install Windows XP or others windows or many Linux distributions for that matter. (acer aspire one 110 dont have a dvd or cd drive).
After spending most of three days to find a solutions to installing Windows XP on my acer aspire one 110, mini-Note with trial and error... I thought I’d share my results with you. Remember, your results may very, so while these are the steps that worked for me, they may not work for you. For example, depending on the version of Windows XP you are using, you may need a different hotfix to install the webcam drivers.
Here’s what you’ll need:
1. 1 USB flash drive, 1GB or larger
2. 1 Windows XP installation disc (or others)
3. Assorted files that I’ll describe as we go along.
4. Others laptop or pc with usb drive and cd or dvd drive.
Preparing the flash drive
First, we need to prepare the flash drive.
1. Download and unzip (updated 31/12/2013) this file, which should contain 2 folders:
a) Bootsect
b) USB_prep8.
2. Navigate to the USB_prep8 folder and click on usb_prep8.cmd. This will bring up a Windows console window.
3. Press any key to continue and a PeToUSB window will open.
4. Make sure your flash drive is selected, and click start to format your flash drive.
5. When the format is complete, click OK, but do not close the PeToUSB window or the Windows Console.
6. Open a new console window by typing “cmd” into the run box in the Windows Start Menu.
7. Find your Bootsect folder (if you’re not used to DOS commands, you can type “dir” to list directories and files, type “cd foldername” to navigate to a folder name - called foldername in this example, and if there’s a long folder name you can save time by typing the “cd” and just the first few letters and then hitting the Tab key to fill in the rest of the name).
8. Once you’re in the Bootsect folder, type “bootsect.exe /nt52 g:” if “g” is the letter assigned to your flash drive. If it’s E, then change the letter to e. If it’s Z, make it z. Get it?
9. When this is done, you should see a message letting you know that the bootcode was updated, and you can close this console window (but not the other console window).
10. Close the PeToUSb Window, but make sure not to close the remaining console window yet
11. You should now see a list of 8 options in the console.
12. Select 1 and find the drive with your Windows installation disc.
13. Select 2 and pick a random drive letter (but not one that’s already on your PC, since this will be a virtual drive used for copying your files).
14. Select 3 and enter the drive letter for your USB flash drive.
15. Select 4 and follow the rest of the on-screen directions and you should be all set.
The process should take about 15-20 minutes. When it’s done, you should have a bootable USB stick that you can use to install Windows XP the same way you would if you had a CD/DVD drive.
Notes :First of all, there’s a chance you may get down to step 15 and the program will tell you that it can’t create the virtual drive. This may happen if you’ve already gone through the whole process and are trying to do it again to fix problems. The solution seems to be rebooting your computer and trying again. Or at least that’s what worked for me.
Installing XP on the acer aspire one 110 mini-note
Now it’s time to load Windows XP onto your cer aspire one 110 mini-note. If you have a USB CD/DVD drive, you probably skipped all the stuff above, and that’s fine. Most of the following steps should work as well. These instructions should work whether you’re installing Windows XP on a system that came preloaded with SUSE or Windows Vista.
1. Insert your USB flash drive in one of the USB ports on your Mini-Note.
2. Power on your computer and hit F9 to bring up a boot device selection window.
3. Choose your flash drive, or if you’re using a USB optical disc drive, select that instead.
4. Select 2 for a text-based installation.
5. Create one large NTFS partition (using the quick option will save you a lot of time)
6. Follow the on-screen directions.
Notes : At least once during the install process, you will be prompted to reboot your computer. If you try to let it boot from the hard drive, you’ll get an error message. What you need to do is hit F9 again when it reboots and this time select option 1 for a GUI setup.
Configuring Windows XP for booting.
Once you’re done installing XP, you may notice that you are unable to boot into Windows from the hard drive. If you have the USB disk installed, again hit F9, and select the GUI option again. Windows should start. You’ll need to edit the boot.ini file:
1. Type “msconfig” into the run box in the start menu
2. Select the BOOT.INI tab
3. First, try the “Check All Boot Paths,” option. This may solve your problem by finding and removing the incorrect boot settings.
4. You may also need to edit the boot.ini file manually. Boot.ini must something look like this :
‘multi(o)disk(0)rdisk(o)partition(1)\Windows=”Windows XP Pro” /fastdetect’
The steps below will show you how to backup and edit its.
1. Open your System Properties by right-clicking on My Computer and choosing Properties. Alternately, you could type “sysdm.cpl” into the run box in the start menu
2. Select the Advanced Tab
3. Click the Settings option under Star
tup and Recovery
4. Click the button that says Edit to open up your boot.ini file in Notepad. It’s a good idea to save a backup now by selecting Save As, and saving the file to a place where you won’t forget it.
5. Now you can safely edit the boot.ini file, changing the partition number or other settings to more closely resemble the one I listed above. Save your file, and hopefully you’ll be able to reboot without your USB stick.
Configuring Windows XP
Now you should have a working Windows XP desktop, but you’ll find that you can’t connect to the internet via Ethernet or WLAN, you have no sound, and no support for the Fn keys. In order to fix these issues you’re going to need a few driver files. Acer has added Windows XP drivers to its support page for the acer aspire one 110. You should try these official drivers and install its.
acer aspire one 110 - download
acer aspire one 150 - download
Look like everything is fine but got a case the webcam are not functional so what you can do is :
1) Go into the Device manager - Uninstall the Chrystal eye Webcam shows up under "Imaging Devices" (right click, choose Uninstall).
2) Download the WLAN Atheros v7.6.0.224 Driver from the Acer Website.
3) Install the driver... Restart - Windows will then recognize your webcam (look in the device driver - see above). You will then have to log into Windows Messanger or Yahoo messenger or skype to "see" your webcam.
Good Luck..... ;-)

1 comments:
I love it, keep up the good work!
Really Nice posts....
http://www.nasbar.org/
Post a Comment